

Supplies: letters of your choice (these were a bit pricey just <$5 each), scrapbook paper, Mod Podge, sponge brushes, scrapbook paper, & scissors.
How: Outline letter onto scrapbook paper (I actually flipped the paper over and traced on the backside!), cut letter, apply Mod Podge to letter and a bit on the paper too!

Place cut out paper onto letter and smooth out (you can even use a credit card!)
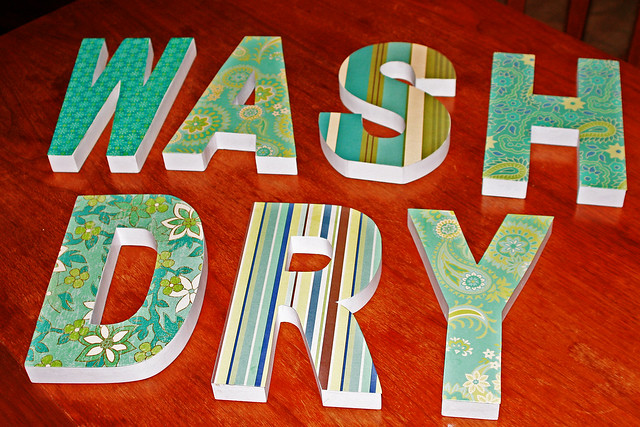
Voila!

I really like it! The only thing I was kinda chicken to do because I didn't want to ruin it, was I didn't do a layer of Mod Podge over the scrapbook paper or spray a layer of laquer over it. Do you crafty mamas out there think I should? Not sure if the scrapbook paper will fade over time?? I'm very open to suggestions. I just need to find one more backing so I can hang the "DRY" sign above the dryer!
Here's my original inspiration, this person put the letters above her kitchen sink:

And if you've never used Mod Podge like me...here's a great "10 steps" tutorial:


Those are beautiful! If they're thoroughly dry, I would definitely add a layer of mod podge then the clear lacquer over the top to help preserve their beauty!
ReplyDeleteThese are great!
ReplyDeleteAhhh!! Those look so awesome!!! We seriously need to live closer to each other... I want to start a craft group!!
ReplyDeleteThose turned out GREAT! I haven't put any type of lacquer over my nursery letters just because I like the "unfinished, matte" look of the paper!
ReplyDeleteI have to admit, I've never used modge podge before, always spray adhesive...off to check out the tutorial :)
Looks great Sarah. I'm going to do this with all the kids names and put them up in their rooms! Thanks for the inspiration!!
ReplyDelete