Showing posts with label crafts. Show all posts

Wednesday, September 12, 2012

Sew, I Have This Goal...

Back in junior high (I don't even want to count how many years ago that was!), I loved sewing in home economics. We never had a sewing machine that I used at home, but I really did love it and was pretty good at following the tutorials. I made my own wheat bag and a nice little tote too, among other things! Well, I've had my "One Day I Will Sew" board brewing on Pinterest and have accumulated 74 pins. Seventy-four. There's ~8 weeks left until baby and I want to start BEFORE s/he comes! Jay bought me a sewing machine for my birthday, back in April...and it sits untouched! Also, it's one of my 30 before 30 goals, so I need to get on this!

So I call on you, my sewing friends, bloggers, and readers! Give me your tips! I haven't even looked at these pins yet, but I plan on doing it as soon as this post is published!

I want to do simple things for baby like receiving blankets, burp clothes, and maybe even a car seat cover or something!

Here are my questions, don't laugh, it's been almost 2 decades since I've sewn!
  • I have the sewing machine....what else do I need to buy other than fabric? Spools? Needles?
  • Do you have your favorite tutorials pinned or bookmarked somewhere? YouTube?
  • Where is the best (Canadian) place to buy sewing stuff?
  • Where do you recommend to buy fabric?
  • Any and all tips/tricks/advice are appreciated!

I need something to do in my evenings other than being a zombie on the couch getting lost in TV land. I don't usually go on the internet much at night, that's what my mornings are for. I want to be productive for this babe and make him/her some things before s/he gets here!

Thanks in advance!

ECGSignature

Tuesday, December 27, 2011

My Crafty Mom

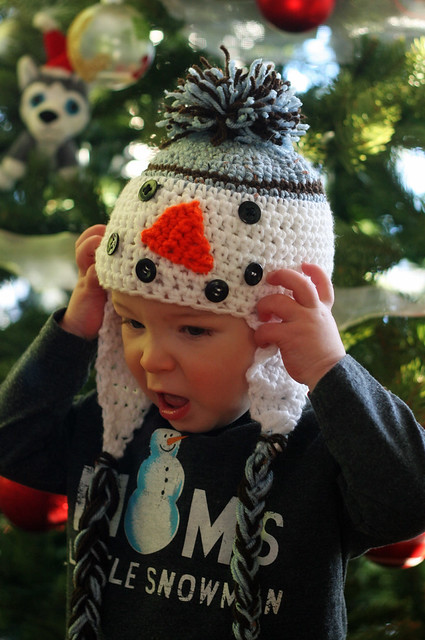
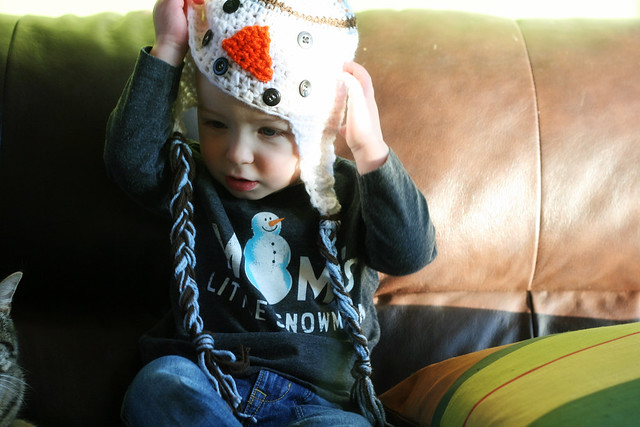
My Mom has picked up a new hobby lately, and Braden and I have been reaping lots of the benefits! She's gotten back into crocheting and has made some really cute hats!
IMG_9382

Braden doesn't really like wearing hats...but he will if I ask him to and he understands he needs to wear them outside especially! Hard to get a picture of this guy in time!
IMG_9383
And he even got a Thomas hat made for him!
IMG_9386
She made owl hats for the twins, a red hat for Sophia, and this nice pink hat for Trinity:
I'm trying to convince her to open up an Etsy shop, but she says she needs to hone her skills a bit more before that happens! I smell a blog giveaway if she ever decides to open up a shop! Good luck, Mom!

Friday, November 25, 2011

Pinning!

I've been doing lots of Pinteresting things lately! I posted pictures on Instagram last week of this recipe (which I can't find now!!) and got lots of wonderful compliments and even a request to put this recipe on the blog!

Cream Cheese Stuffed Chicken


I had you at cream cheese didn't I? This recipe is so easy and doesn't take a lot of time - I promise you can do it! It tastes and looks so professional too! The blog that this is from calls it "Kaytucky Chicken"

Ingredients:

  • 4 chicken breasts
  • 4 frozen puff pastry sheets
  • 4 oz cream cheese (the firm kind)
  • 2 strips of cooked bacon
  • flat-leaf parsley
  • 1 green onion
  • 1 large egg
  • pepper
  • salt
Directions:
  • chop up bacon, parsley, and green onion
  • smush (cooking term) into cream cheese
  • make fairly deep cut into centre of chicken breasts
  • spread cream cheese mixture equally into each breast
  • make sure puff pastry is thawed at room temperature
  • roll out into 4 equal pieces
  • place chicken on top of puff patsry, cream cheese side down
  • season chicken with generous amounts of salt & pepper (I needed more)
  • beat a large egg, brush a little on the edges of the pastry
  • fold pastry over chicken, like a little package!
  • lightly brush top of puff pastry with egg to
  • cook them at 400F for about 30-35 minutes until lightly golden brown

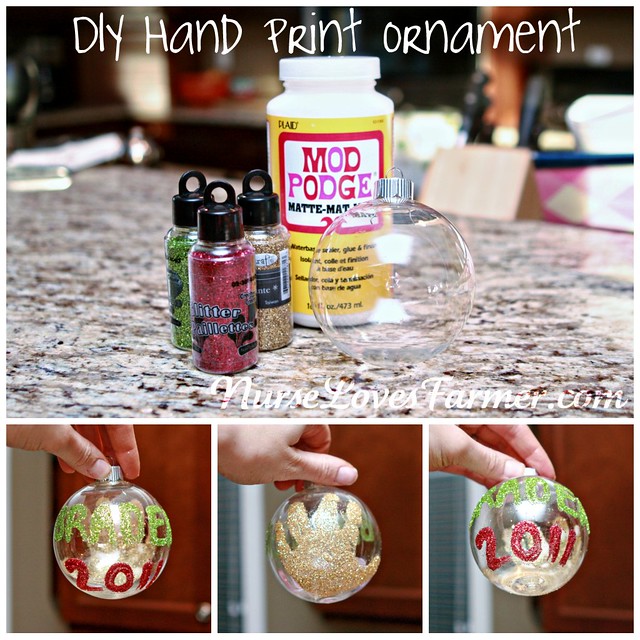
Then I did this Christmas craft with Braden the other day!


And here is my version:
Picnik collage
I couldn't take pictures of the whole process for obvious reasons! :) I like how it turned out. It's not perfect, but I like it! The craft ornament cost $0.89 from Walmart, Dollarama sparkles...can't get much cheaper than that!

And for the future...I've already done my twist on this, which I hope to have crafted next week!

Source: etsy.com via Sarah on Pinterest

I might do my own twist on this to hang the Christmas cards we receive this year:


And I keep meaning to do this, in Christmas papers, and give as stocking stuffers!


Vote For Us @ TopBabyBlogs.Com - A Top Baby Blog List By topbabyblogs.comVisit Top Mommy Blogs To Vote For Me

Tuesday, November 8, 2011

Gettin' My Craft On!

Oh Pinterest, how do I love thee? You have made me try tons of new recipes over the last many weeks and given me so much inspiration for decorating and trying to be crafty! Well, this morning after my night shift I was going through the crafty section in Walmart and decided to buy supplies for a craft I've had my eye on for awhile which I thought would be a great way to add a pop to my mudroom! (Once again, please excuse the yucky pictures, lighting at night in my house is virtually non-existent!
Picnik collage
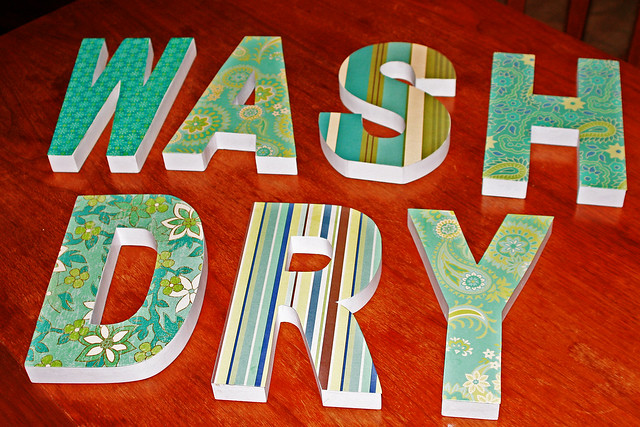
Supplies: letters of your choice (these were a bit pricey just <$5 each), scrapbook paper, Mod Podge, sponge brushes, scrapbook paper, & scissors.
How: Outline letter onto scrapbook paper (I actually flipped the paper over and traced on the backside!), cut letter, apply Mod Podge to letter and a bit on the paper too!
Picnik collage
Place cut out paper onto letter and smooth out (you can even use a credit card!)
Wash & Dry Craft
Voila! 
Picnik collage
I really like it! The only thing I was kinda chicken to do because I didn't want to ruin it, was I didn't do a layer of Mod Podge over the scrapbook paper or spray a layer of laquer over it. Do you crafty mamas out there think I should? Not sure if the scrapbook paper will fade over time?? I'm very open to suggestions. I just need to find one more backing so I can hang the "DRY" sign above the dryer!
Here's my original inspiration, this person put the letters above her kitchen sink:


And if you've never used Mod Podge like me...here's a great "10 steps" tutorial:


sarah
Vote For Us @ TopBabyBlogs.Com - A Top Baby Blog List By topbabyblogs.comVisit Top Mommy Blogs To Vote For Me